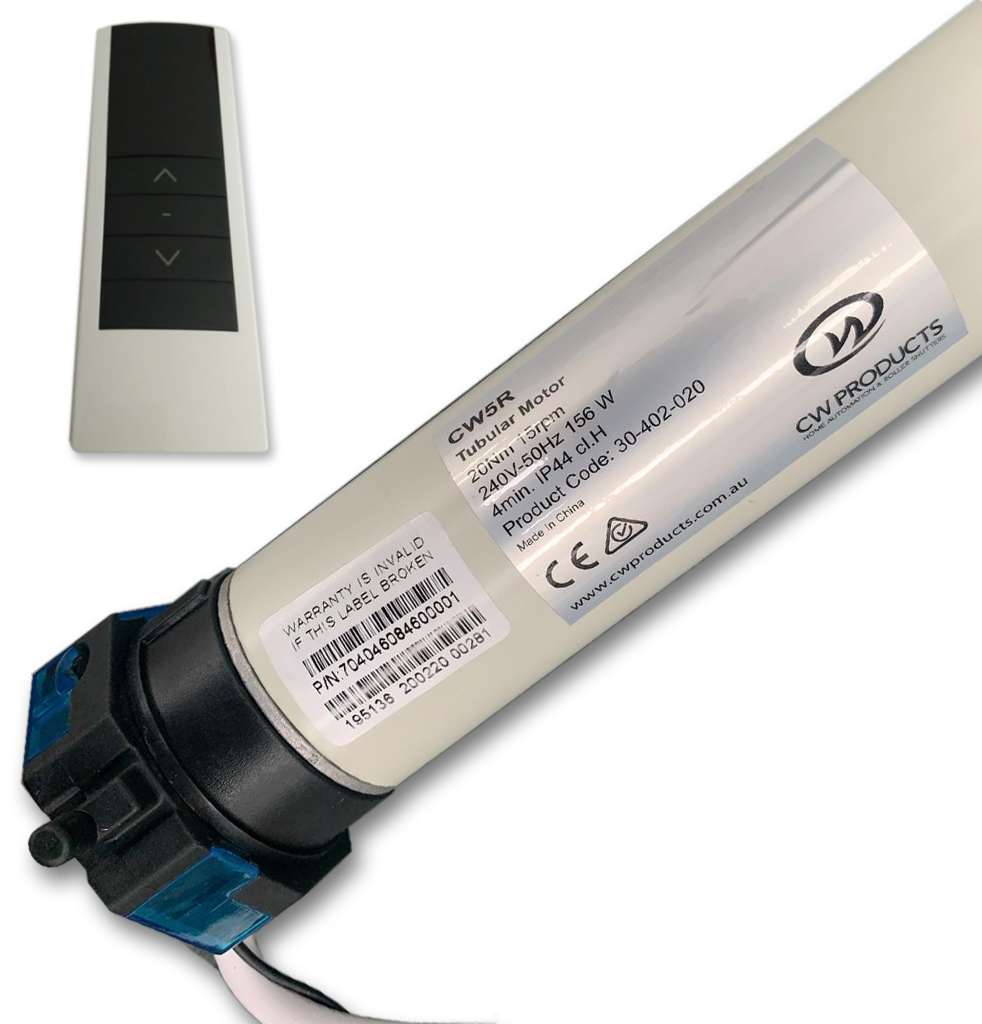
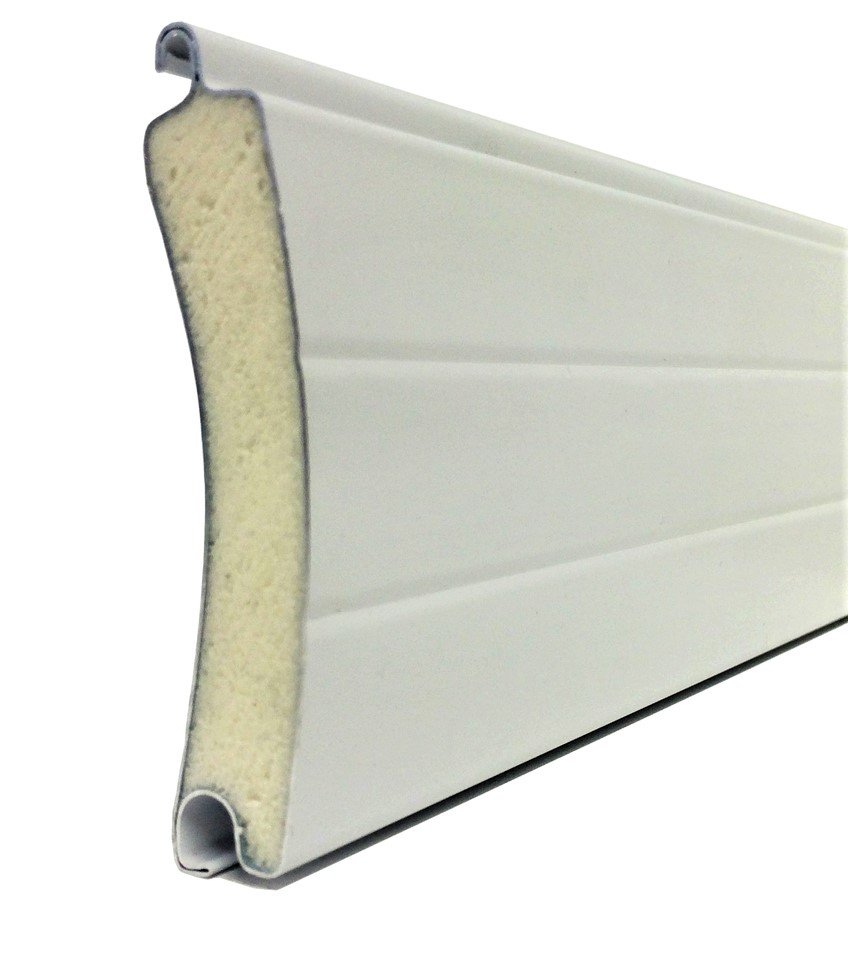
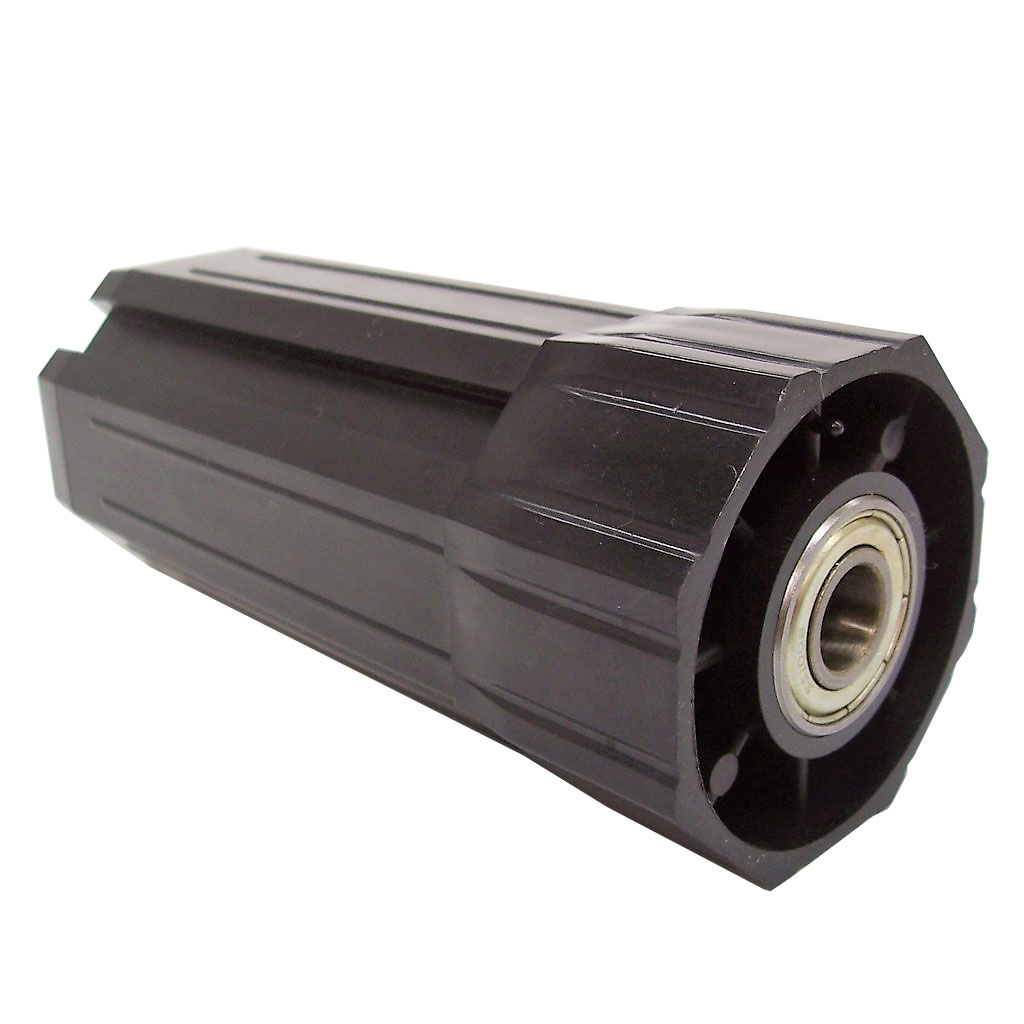
Specifications & Programming Instructions
- Qualified persons must only carry out electrical connections.
- The continuity of the earth connection provided for must be ensured.
- It is recommended that the power supply of each motor offers the possibility of being isolated, even though each motor comes with a in line connector plug.
- If the installation includes several motors, only one CW5R 20NM Tubular Motor is to be powered during the programming procedure to eliminate interferences with the other motors.
Transmitter Programming (Single or Multi Channel)
1) Programming The First Transmitter
If a multi-Channel Transmitter is being programmed, first select the channel required, by using the minus (-) or plus (+) button on the transmitter until you have located the required channel number to be programmed.
- Connect the motor to the power supply. The motor performs a brief up/down movement.
- Within 10 seconds of this up/down movement –
- Press and HOLD the UP & DOWN buttons on the Transmitter together at the same time for more than 3 seconds until the motor performs a brief up/down movement followed by a second brief up/down/up/down movement, (approximately 3 seconds later)
- The first Transmitter is now programmed.
2) Check the Direction of Rotation.
If the direction of rotation is correct, (pressing up button makes the motor raise the blind or shutter and pressing the down button lowers the blind or shutter), Proceed to step 4 – to change the way the motor reacts to the remote control hand set.
If the direction of rotation IS NOT correct, proceed to step 3 to rectify this.
3) Changing The Direction of Rotation
- To change the direction of rotation, use the pre-programmed transmitter and follow the steps below.
- Press the UP & DOWN buttons on the Transmitter together at the same time, until the motor performs a brief up/down movement.
- Then Press and HOLD the STOP button on the Transmitter for approximately 3 seconds, until the motor performs a brief up/down movement.
- Then Press the UP button on the Transmitter. The motor will perform a brief up/down/up/down movement.
- The direction of rotation has now been changed.
Check the direction of rotation is now correct. If it is not correct, go back to Step 3 and repeat this step again
If this is now correct, proceed to step 4
The following step will change the way the motor reacts when the remote control up or down button is pressed.
By default, the motor will only move in a step by step way, when a single press of the button is given. The motor will not continue moving without holding the button down, until approximately 5 seconds of keeping the button pressed, only then will the motor keep moving when the button is released.
To change this reaction to the hand set to an immediate and continual movement with one single press, move to Step 4
4) Changing Between Dot (Inching) And Continuous Movement Mode
- Press the UP & DOWN buttons on the Transmitter together at the same time until the motor performs a brief up/down movement.
- Then Press and HOLD the STOP button on the Transmitter for approximately 3 seconds until the motor performs a brief up/down movement.
- Then press the STOP button on the Transmitter. The motor will perform a brief up/down/up/down movement.
- The motors mode of movement has now been changed.
Check the mode of movement is now correct. If it is not correct, go back to Step 4 and repeat this step again
If this is now correct, the programming is now complete.
Additional programming options
5) Adding a Second or Additional Transmitter
If a second transmitter is required to be programmed, follow the steps below.
If a multi-Channel Transmitter is being programmed, or has been programmed, first select the channel by using the minus (-) or plus (+) button on the transmitter to select the correct channel number.
NEXT –
- Press the UP & DOWN buttons on an EXISTING Transmitter together at the same time until the motor performs a brief up/down movement.
- Release, then Press and HOLD the STOP button on the EXISTING Transmitter for approximately 3 seconds until the motor performs a brief up/down movement.
- Then on the NEW Transmitter you wish to use, Press the UP & DOWN buttons at the same time.
- The motor will perform a brief up/down/up/down movement and the new Transmitter has now been memorized.
6) Removing A Transmitter
If a transmitter needs to be removed from the memory of the receiver, follow the steps below.
- If a multi-Channel Transmitter is being removed, first select the channel to be removed by using the minus (-) or plus (+) button on the transmitter.
- Then Press the UP & DOWN buttons on an EXISTING Transmitter together at the same time until the motor performs a brief up/down movement.
- Release, then Press and HOLD the STOP button on the Transmitter for approximately 3 seconds until the motor performs a brief up/down movement.
- Then Press the DOWN button on the Transmitter you wish to delete. The motor will perform a brief up/down/up/down movement.
- The Transmitter or selected channel on a Transmitter has now been deleted.


